Category: Beverages

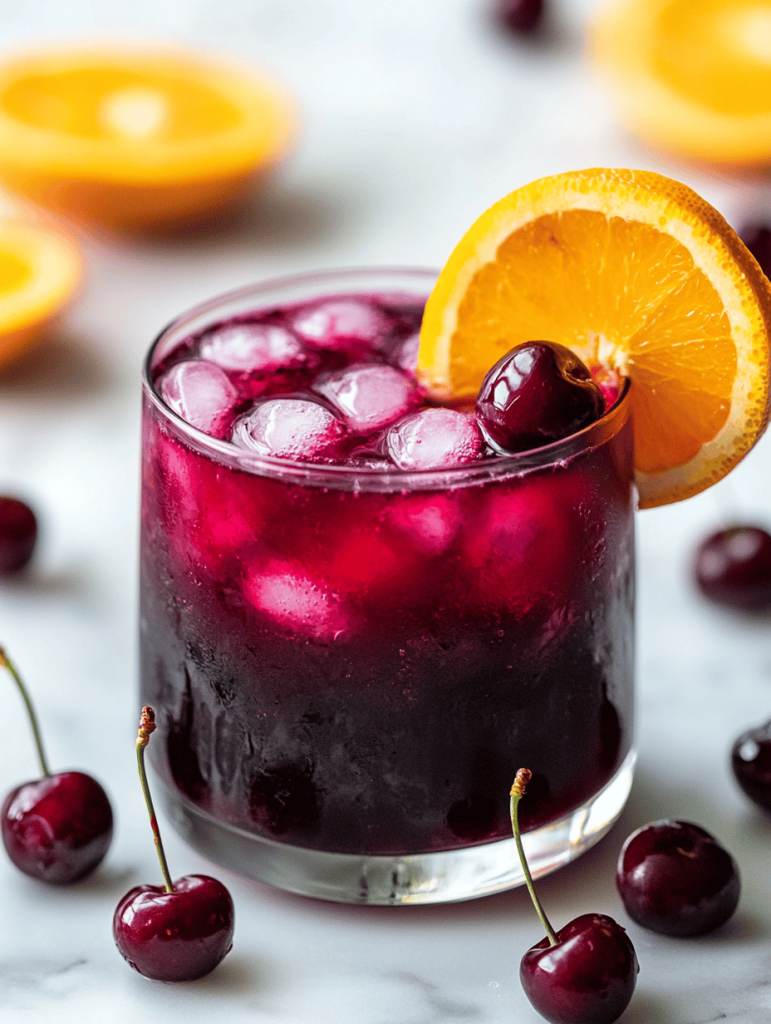
  • Blood Moon Bash: Spooky Vampire Punch for Halloween

    Blood Moon Bash: Spooky Vampire Punch for Halloween

    As October’s chill bites deeper, I find myself craving something vibrant and eerily festive. This Vampire Punch, with its deep red hue and bubbling charm, feels just right for a Halloween gathering filled with mischief and magic. It’s more than a drink; it’s a ritual of delight, a swirling potion that sparks conversations and giggles.

    What sets this recipe apart isn’t just its striking appearance, but the story it carries—a nostalgic nod to childhood costume parties mixed with a dash of chaotic fun. Pouring it feels like conjuring a spell, the aroma of sweet fruit and tangy berries filling the air. It’s guaranteed to turn any spooky soirée into a bubbling, crimson celebration.

    Vampire Punch

    Vampire Punch is a vibrant, deep red beverage made with fruit juices, berry flavors, and sparkling soda, resulting in a bubbling, crimson-colored drink. The mixture is combined and chilled to create a visually striking and festive drink suitable for Halloween celebrations. Its final appearance is glossy, effervescent, and evocative of a bubbling potion.
    Prep Time 10 minutes
    Cook Time 5 minutes
    Total Time 15 minutes
    Servings: 8
    Course: Main Course
    Cuisine: Halloween
    Calories: 120

    Ingredients
      

    • 2 cups fruit punch store-bought or homemade
    • 1 cup blueberry juice or any berry-flavored juice
    • 1/2 cup lemon-lime soda for effervescence
    • 1 cup fresh berries for garnish and extra flavor

    Equipment

    • Large mixing bowl
    • Spoon or stirrer
    • Measuring cups and spoons
    • Serving pitcher

    Method
     

    1. Pour the fruit punch into a large mixing bowl, creating a deep red base.
    2. Add the blueberry juice to the bowl, then gently stir to combine the flavors and deepen the crimson hue.
    3. Chill the mixture in the refrigerator for about 10 minutes to allow the flavors to meld and the drink to become cool.
    4. Just before serving, pour the lemon-lime soda into the chilled punch to add bubbles and a sparkling finish, causing a lively fizz.
    5. Gently stir again to integrate the bubbles without losing too much of the effervescence.
    6. Pour the bubbling Vampire Punch into glasses or a decorative pitcher, then garnish each with fresh berries for added color and texture.
      2 cups fruit punch
    7. The final dressings should be vibrant, bubbling, and visually reminiscent of a spooky potion, ready to serve at your Halloween gathering.

    This Vampire Punch isn’t just a beverage; it’s an experience wrapped in a pitcher. Perfect for Halloween nights that call for a little chaos and a lot of cheer, it invites everyone to sip and share stories of past haunted adventures. As the evening winds down, the remnants of red juice and berry scent linger, promising more magical nights ahead.

    Seasons change, but the joy of crafting something spooky and spectacular stays. Sometimes, the simplest ingredients—red fruit juice and a splash of fun—make the most memorable moments. So, keep this recipe handy for your next festive gathering and enjoy every bubbling, spirited sip.

  • Tropical Bliss: The Unexpected Charm of Pineapple Slushie

    Tropical Bliss: The Unexpected Charm of Pineapple Slushie

    Imagine a sweltering summer day, your favorite playlist humming in the background, and that sharp aroma of fresh pineapple wafting through the air. Making a pineapple slushie isnt just about cooling down; its about capturing a slice of tropical paradise in a glass, even if youre miles from the coast. Its a surprisingly forgiving recipe that invites creativity—add a splash of coconut milk, a dash of mint, or even a pinch of chili for a twist.

    Every spoonful melts into a burst of sweet, tangy pineapple that awakens your senses. The icy texture crunches delightfully, reminiscent of that first icy bite on a summer buddy run. This isnt just a drink; its a little celebration, a quick escape into sunshine-laced days and carefree vibes.

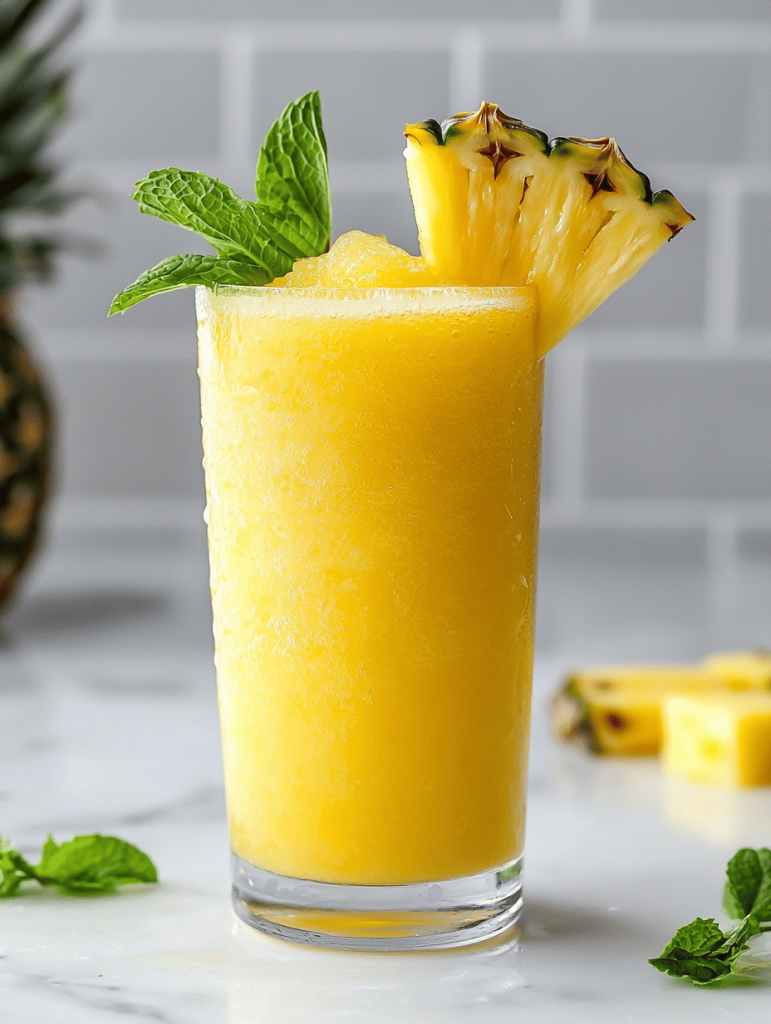
    Pineapple Slushie

    A pineapple slushie is a frozen beverage made by blending sweet pineapple chunks with ice until smooth, resulting in a refreshing, icy drink that has a vibrant yellow color and a thick, slushy texture. It features a tart-sweet flavor profile with a fruity aroma, perfect for hot summer days.
    Prep Time 10 minutes
    Total Time 10 minutes
    Servings: 2
    Course: Main Course
    Cuisine: Tropical
    Calories: 120

    Ingredients
      

    • 2 cups frozen pineapple chunks preferably frozen for icy texture
    • 1 cup ice cubes to enhance chill and slushiness
    • 1/2 cup water or coconut water to help blend smoothly
    • 1 tablespoon honey or agave syrup optional for added sweetness

    Equipment

    • Blender
    • Measuring cups

    Method
     

    1. Measure out all the ingredients and add the frozen pineapple chunks into your blender.
    2. Add the ice cubes on top of the pineapple, then pour in the water or coconut water to help with blending.
    3. Pulse the blender a few times to start breaking down the ice, then blend on high until the mixture is smooth and slushy, about 30-45 seconds. You should see a thick, vibrant yellow mixture with a frosty texture.
    4. Taste the slushie and, if desired, add honey or agave syrup for extra sweetness. Blend again briefly to incorporate.
    5. Once the mixture is thick, creamy, and well combined, pour it into glasses. The texture should be fluffy and icy, with a bright yellow color and aroma of fresh pineapple.
    6. Serve immediately with a straw or spoon, enjoying the cool, refreshing burst of tropical flavor.

    Notes

    For an extra tropical twist, add a splash of coconut milk or a few fresh mint leaves before blending.

    As the season shifts and fresh pineapples become a fleeting treasure, this slushie offers a bright reminder of warm days and lazy afternoons. Its simple enough to whip up anytime, yet special enough to make you smile each time. Pair it with a good book or a lazy picnic, and let every sip remind you that sometimes, happiness is just a frozen treat away.

    In a world racing by, this creamy, zingy pineapple slushie is a little reminder to pause and enjoy the sweet moments. Whether for a quick refresh or a festive gathering, it fits effortlessly into a sunny days story. Cheers to more carefree, flavorful days ahead.

  • The Secret Ingredient to a Perfect Mango Slushie

    The Secret Ingredient to a Perfect Mango Slushie

    Ever wondered how to elevate your mango slushie from good to unforgettable? When I started experimenting with frozen mango chunks and a splash of lime, I found a surprisingly complex flavor profile hidden inside this simple treat. It’s not just about sweetness but a symphony of tang, richness, and a hint of tropical nostalgia.

    Using a secret spice—cardamom—to balance the natural sweetness transforms this icy beverage into a dessert you’ll crave all season. Plus, its vibrant color and intoxicating aroma make it impossible to resist on those blazing hot days. This isn’t your average summer drink; it’s a thirst-quenching adventure in every glass.

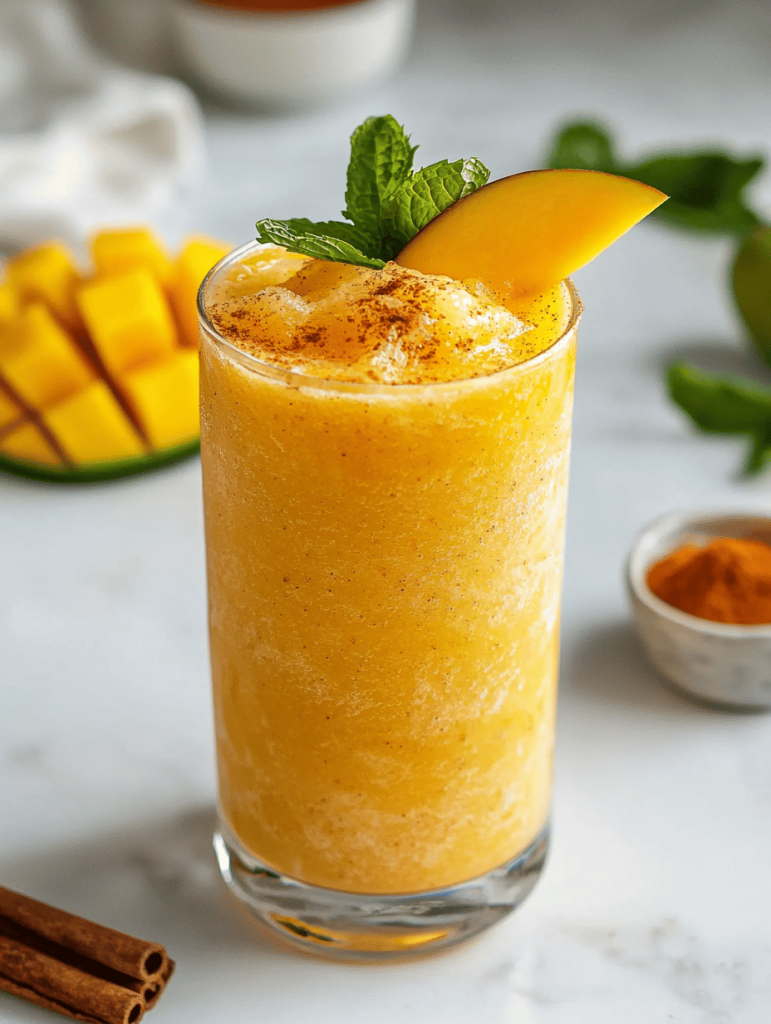
    Spiced Mango Slushie

    This mango slushie is made by blending frozen mango chunks with lime juice and a touch of cardamom until smooth and icy. The mixture results in a vibrant, thick, and-refreshing beverage with a bright color and a fragrant aroma, perfect for hot days. The final texture is velvety and slushy, ideal for serving chilled as a delightful summer treat.
    Prep Time 10 minutes
    Total Time 10 minutes
    Servings: 2
    Course: Main Course
    Cuisine: Tropical
    Calories: 120

    Ingredients
      

    • 3 cups frozen mango chunks preferably diced and frozen
    • 1 tablespoon lime juice freshly squeezed if possible
    • 1/4 teaspoon cardamom powder ground

    Equipment

    • Blender
    • Measuring cups and spoons

    Method
     

    1. Add frozen mango chunks to the blender.
    2. Pour in the lime juice and sprinkle the ground cardamom over the mango.
    3. Secure the lid on the blender and blend on high until the mixture is smooth, thick, and icy, about 30-45 seconds. The sound should be loud and consistent, and the mixture should look velvety with no chunks remaining.
    4. Pour the blended mango slushie into glasses, swirling slightly as you do to showcase its vibrant color.
    5. Optionally, garnish with a small lime wedge or a sprinkle of extra cardamom for visual appeal.
    6. Serve immediately with a straw, enjoying the icy, fragrant, and colorful beverage.
    This mango slushie sneaks in a little magic with every sip, making hot days feel like mini vacations. It’s perfect for spontaneous gatherings or solo moments of cooling delight, especially when the heat makes everything else seem less appealing.

    Every spoonful carries memories of mango markets and fragrant fruit stalls, reminding us that simple ingredients can stir up the most joyful escapes. Pouring this frosty treasure into your favorite glass might just become a new summer ritual you look forward to. Cheers to sweet escapes in a glass.

  • Chilling Out with a Frozen Margarita Slushie That’s Anything but Ordinary

    Chilling Out with a Frozen Margarita Slushie That’s Anything but Ordinary

    Imagine transforming your usual summer escape into an icy adventure that sparks joy with just a blender and a handful of frozen ingredients. This frozen margarita slushie isn’t your average cocktail; it’s a nostalgic burst of citrus and tequila that feels like a mini vacation in every sip. Plus, the secret to perfect slushie consistency is surprisingly simple, yet often overlooked.

    Real excitement begins when you realize how versatile this frozen delight can be. Whether you’re celebrating a spontaneous occasion or craving a cool-down after a sunny day hike, this recipe evolves with your mood and ingredients. It’s a bright, refreshing twist that reminds you summer is a state of mind, ready whenever you are.

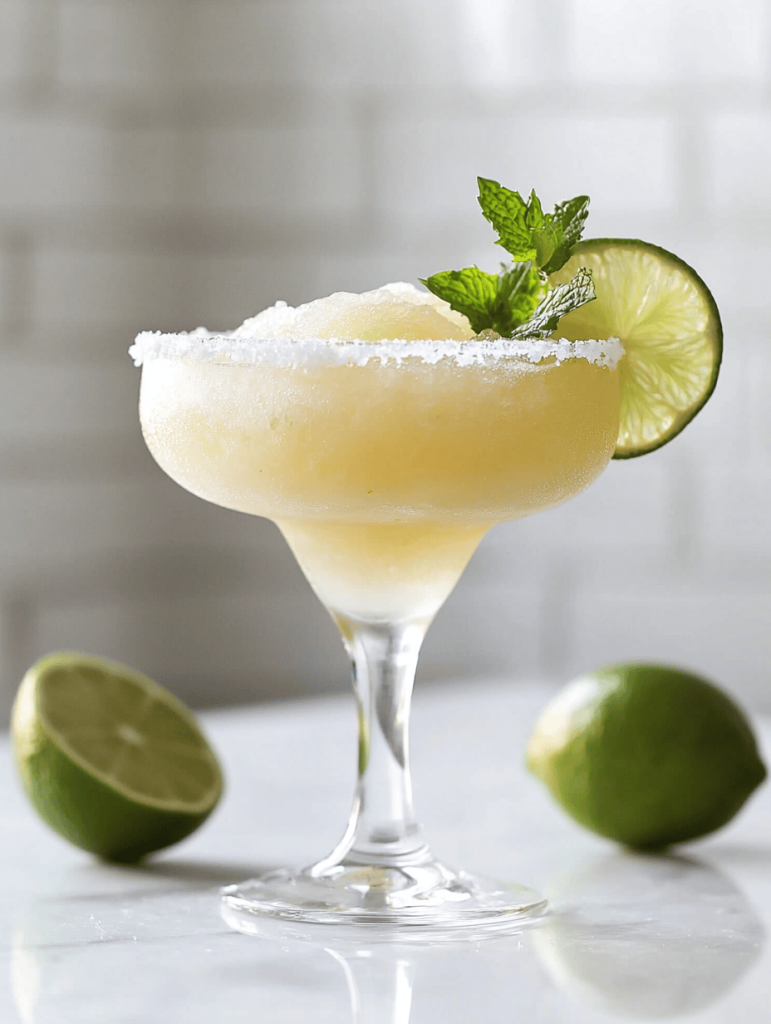
    Frozen Margarita Slushie

    This frozen margarita slushie combines lime juice, tequila, and sweeteners blended with ice to create a smooth, icy beverage. The result is a vibrant, chilled drink with a slightly granular texture and a bright citrus flavor, ideal for hot days or festive occasions.
    Prep Time 10 minutes
    Total Time 10 minutes
    Servings: 2
    Course: Main Course
    Cuisine: Mexican
    Calories: 150

    Ingredients
      

    • 1 cup ice cubes
    • 1/2 cup lime juice freshly squeezed preferred
    • 1/4 cup simple syrup or honey adjust to taste
    • 1/4 cup tequila preferably blanco

    Equipment

    • Blender
    • Measuring cups and spoons

    Method
     

    1. Add the ice cubes to the blender, creating a substantial icy base for the slushie.
    2. Pour in the freshly squeezed lime juice, which provides the tangy citrus flavor and brightens the mixture.
    3. Add the simple syrup or honey to sweeten the drink, balancing the tartness of the lime.
    4. Pour in the tequila, giving the slushie its distinctive boozy kick and depth of flavor.
    5. Secure the lid on the blender and blend on high until the mixture is smooth, with a slightly granular or icy texture that clings to the sides of the container.
    6. Check the texture; if it’s too thick, add a splash of water or additional lime juice and blend briefly again.
    7. Pour the frozen margarita slushie into chilled glasses, allowing the icy mixture to cascade over the rim for a refreshing presentation.
    8. Optional: garnish with lime wedges or salt-rimmed glasses for a festive touch before serving.
    Creating this frozen margarita slushie is about embracing the casual chaos of summer. The blend of sweet, sour, and salty flavors marries perfectly in each icy gulp, making every sip memorable. Pair it with your favorite chips or a sunset view for maximum impact.

    As the ice shards crackle under your spoon, you’ll appreciate the little joys of a simple, well-loved recipe. It’s perfect for those spontaneous gatherings or lazy afternoons when only a chilled, tangy treat will do. Cheers to keeping summer alive, one slushie at a time.

  • Spooky Seduction: The Bloody Mary Like Never Before

    Spooky Seduction: The Bloody Mary Like Never Before

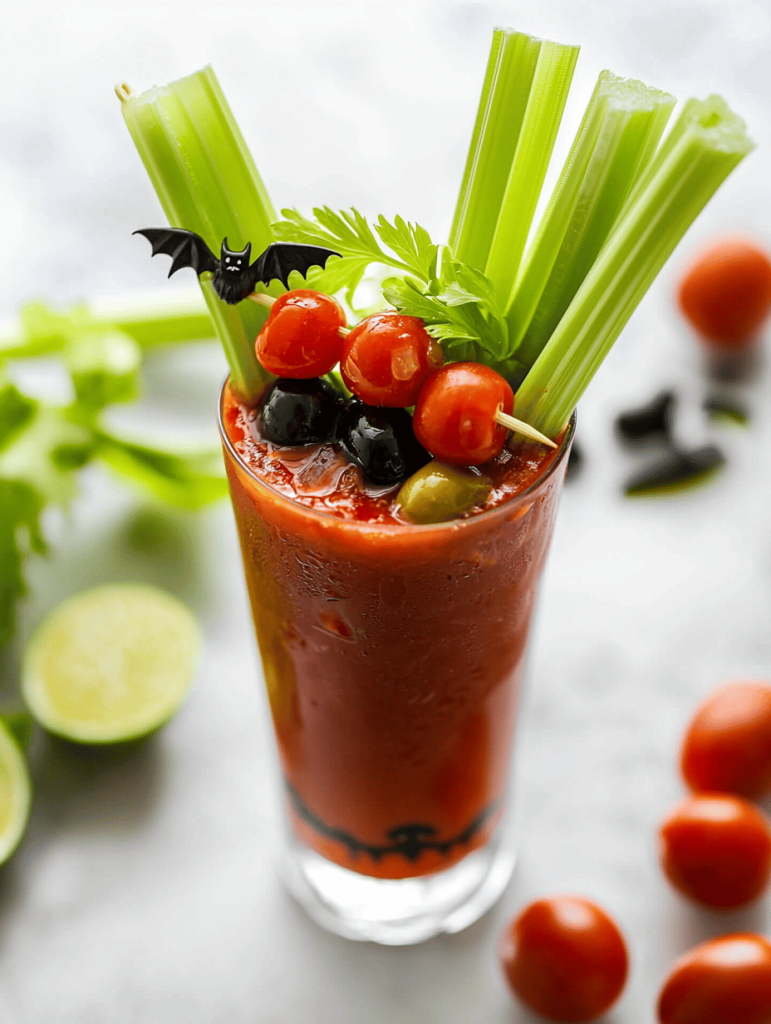
    Imagine a Halloween cocktail that not only shocks the senses with its vibrant red hue but also tingles your nostalgic memories of childhood mischief. This Bloody Mary variation transforms the classic into a gory masterpiece, perfect for daring spirits and party ghosts. The murky, savory aroma will pull you in, hinting at the wild novelty awaiting your taste buds.

    Crafting this drink is an art of chaos and humor, blending familiar flavors with a haunting twist. It’s more than a cocktail; it’s a celebration of the playful eerie vibe that October lends to our tables. Ready to turn your spooky night into a flavorful nightmare? Then pour, garnish, and prepare for some delighted screams.

    Bloody Mary Halloween Cocktail

    This Bloody Mary variation is a vibrant red cocktail made with tomato juice, vodka, and savory spices, often garnished with vegetables or garnishes to enhance its gory appearance. The drink has a thick, smooth consistency with a spicy and savory aroma, perfect for spooky parties. Its striking color and layered garnishes create a dramatic visual effect.
    Prep Time 5 minutes
    Total Time 5 minutes
    Servings: 1
    Course: Main Course
    Cuisine: Halloween
    Calories: 120

    Ingredients
      

    • 4 oz tomato juice preferably chilled
    • 1.5 oz vodka use a good quality vodka
    • 1 tsp Worcestershire sauce adds depth of flavor
    • 0.5 tsp hot sauce adjust for spice preference
    • Pinch celery salt for seasoning
    • Pinch black pepper freshly ground
    • Lemon or lime wedge for garnish adds acidity and color

    Equipment

    • Shaker or mixing glass
    • Flexible straw or stirrer

    Method
     

    1. Begin by filling a shaker halfway with ice cubes to chill the mixture.
    2. Add the tomato juice, vodka, Worcestershire sauce, hot sauce, celery salt, and black pepper into the shaker.
    3. Secure the lid tightly and shake vigorously for about 10 seconds until all ingredients are well combined and chilled.
    4. Strain the mixture into a tall glass filled with fresh ice to keep it cold and visually appealing.
    5. Garnish the drink with a lemon or lime wedge and a celery stalk or pickled vegetables for a gory, Halloween look.
    6. Serve immediately with a straw or stirrer to enjoy the spicy, savory, and strikingly vibrant beverage.

    As the night deepens, this Bloody Mary keeps the party lively with its shocking appearance and savory depth. The bright, tangy kick keeps everyone on their toes, making it a must-have for any Halloween gathering. It’s simple, bold, and perfectly eerie for the season.

    Enjoy the moments of chaos and laughter as everyone debates whether it’s a drink or a potion. These little touches of horror and humor bring a unique charm to your festive table. Cheers to a Halloween full of flavor and frights!

  • Frozen Vodka Slushies: A Chill Twist for Hot Days

    Frozen Vodka Slushies: A Chill Twist for Hot Days

    As a passionate home bartender, I love turning simple ingredients into something unexpectedly delightful. Vodka slushies often get dismissed as just frozen drinks, but I see them as blank canvases for creativity and nostalgia. Today, I want to explore how a few secret ingredients can elevate this icy treat beyond the usual.

    Imagine the refreshing burst of citrus paired with the boozy kick, all balanced by a whisper of sweetness. This recipe is perfect for those sunny afternoons when you crave something cool but crave a little more personality. Let’s dive into what makes these slushies not just a drink, but an experience.

    Citrus Vodka Slushie

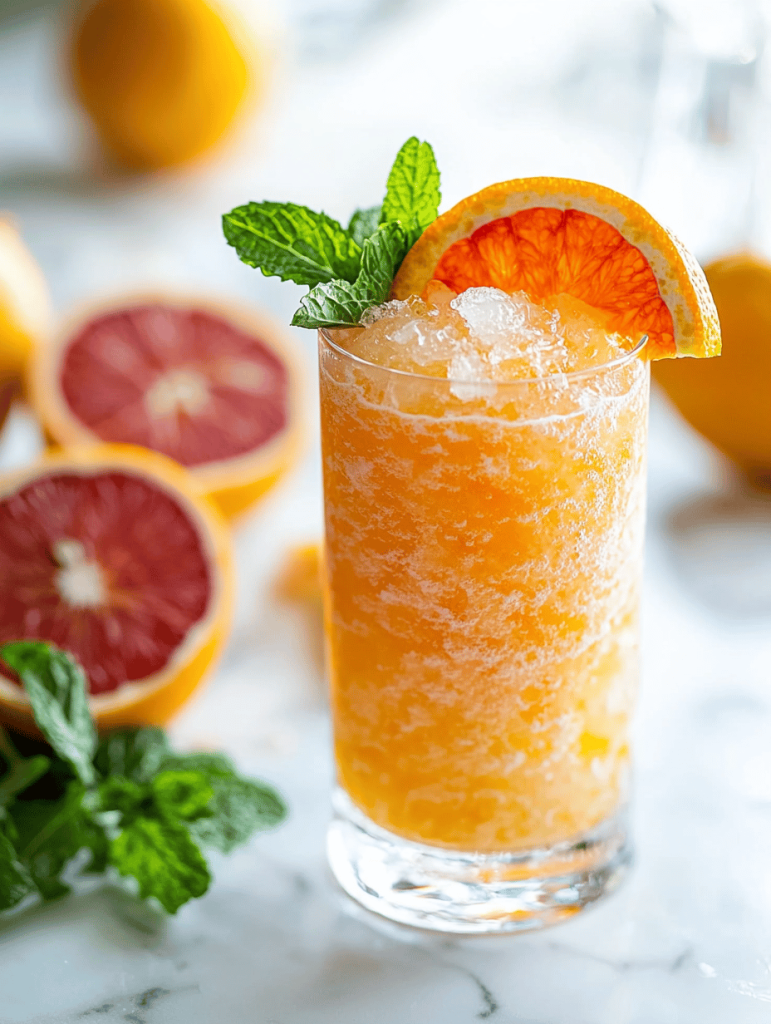
    This vodka slushie features a blend of citrus juice, vodka, and sweetener, frozen into a smooth, icy texture. The mixture is blended until slushy and served in a chilled glass, showcasing a vibrant, frosty appearance with a refreshing, tangy aroma.
    Prep Time 10 minutes
    Total Time 10 minutes
    Servings: 2
    Course: Main Course
    Cuisine: beverage
    Calories: 150

    Ingredients
      

    • 1 cup freshly squeezed citrus juice (e.g., lemon, lime, or orange) preferably chilled
    • 1/2 cup simple syrup or honey adjust to taste
    • 1/2 cup vodka your choice of vodka
    • 1 cup ice cubes preferably small or crushed
    • Optional fresh mint or citrus slices for garnish

    Equipment

    • Blender
    • Measuring cups and spoons
    • Citrus juicer or reamer

    Method
     

    1. Pour the chilled citrus juice into the blender.
    2. Add the simple syrup or honey to the blender for sweetness and balance.
    3. Pour in the vodka, ensuring the mixture will have a nice boozy kick.
    4. Add the ice cubes to the blender to create a frosty, slushy consistency.
    5. Secure the lid on the blender and blend on high speed until the mixture is smooth, thick, and icy, about 30-45 seconds.
    6. Check the texture—if it’s too thick, add a splash of citrus juice or water and pulse briefly.
    7. Pour the icy slushie into chilled glasses, filling them generously.
    8. Garnish with fresh mint or a slice of citrus for an appealing presentation and aroma.
    9. Serve immediately with a straw or small spoon to enjoy the refreshing, textured beverage.

    Notes

    Adjust the sweetness and citrus to your taste. For a frozen cocktail with a smoother texture, blend longer or add more ice. Best enjoyed fresh while icy cold.

    In the end, making a vodka slushie is all about experimenting with flavors and textures that excite your palate. It’s a versatile, easy-to-customize recipe that adapts to your mood and ingredients on hand. As the seasons shift, this icy concoction can be your loyal companion.

    Whether it’s a spontaneous happy hour or a planned gathering, these slushies will surprise and delight. Feel free to tweak sweetness levels or add a splash of soda for extra sparkle. Cheers to spontaneous, chilled moments of joy that bring a little frost to everyday life.

  • Creamy Caramel Slushie: A Frosty Sweet Escape

    Creamy Caramel Slushie: A Frosty Sweet Escape

    Cooling down with a caramel slushie might seem like a simple joy, but this recipe takes it to a new level by emphasizing the unexpected velvety texture layered with rich caramel undertones.

    Unlike typical icy drinks, this slushie balances the icy crunch with a smooth, almost creamy consistency that surprises every time. I love how the caramel adds a warm, golden sweetness, melting slightly amidst the cool ice.

    This recipe is perfect for those longing for a nostalgic treat with a sophisticated twist. Whether it’s a sunny afternoon or a last-minute dessert, this chilly sip can turn ordinary moments into something special.

    Caramel Slushie

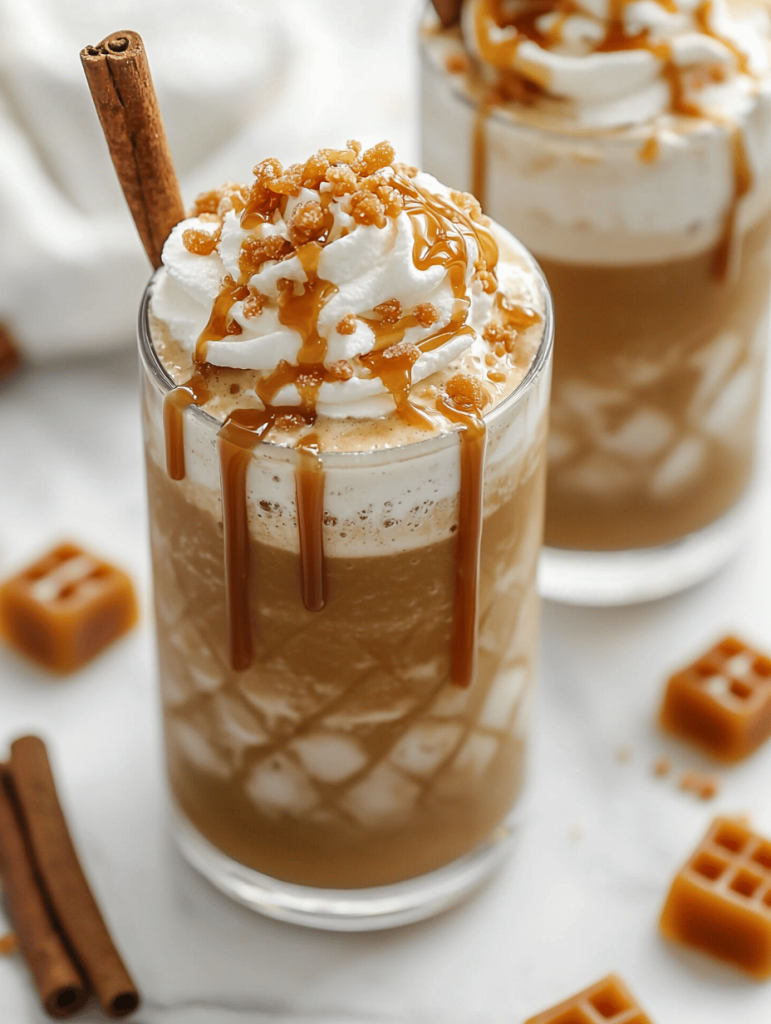
    A caramel slushie is a frozen beverage made by blending icy textures with a rich caramel syrup, resulting in a velvety, semi-creaminess combined with crispy ice shards. The process involves freezing caramel-flavored liquid and blending it until smooth, producing a visually appealing, golden-hued drink with a soft, icy consistency.
    Prep Time 10 minutes
    Total Time 10 minutes
    Servings: 2
    Course: Main Course
    Cuisine: American
    Calories: 250

    Ingredients
      

    • 1 cup heavy cream for richness
    • 1/2 cup full-fat milk smooth base
    • 1/2 cup caramel syrup adds sweetness and flavor
    • 2 cups ice cubes for freezing
    • 1 spoonful butter for caramel richness, optional

    Equipment

    • Blender
    • Measuring cups and spoons
    • Freezer

    Method
     

    1. Pour the heavy cream, full-fat milk, and caramel syrup into a mixing bowl or container and whisk together until fully blended and slightly frothy.
    2. If using butter, melt it gently and stir into the caramel mixture for extra richness.
    3. Transfer the caramel mixture into a shallow dish and place in the freezer, letting it chill for at least 2 hours or until fully frozen.
    4. Once frozen solid, break the caramel block into smaller chunks and place them in the blender along with the ice cubes.
    5. Blend on high until the mixture becomes smooth, velvety, and slightly thickened, with tiny ice shards still visible but well incorporated.
    6. Taste and adjust if needed—adding more caramel syrup for sweetness, then blend briefly again to mix.
    7. Pour the slushie into glasses, watching the golden hue and icy texture develop, and serve immediately with a straw or spoon.

    Notes

    For a richer caramel flavor, toast the butter slightly before mixing. The key to a velvety texture is blending until just smooth, avoiding over-processing that melts the ice too much.

    Creating this caramel slushie is surprisingly straightforward, yet it feels indulgent enough for celebrating lazy weekends or unexpected guests. The blend of textures and flavors makes every sip memorable, especially when topped with a drizzle of extra caramel.

    Personally, I find it irresistible to watch the caramel swirl into the icy mixture, creating a shimmer that beckons at the end of a busy day. In a season dominated by cold treats, this one offers a comforting, yet exhilarating escape from winter’s grip or summer’s heat, depending on your mood.

  • Chilling Secrets: The Art of Making an Unforgettably Creamy Chocolate Slushie

    Chilling Secrets: The Art of Making an Unforgettably Creamy Chocolate Slushie

    In the heart of summer, as the sun blazes down relentlessly, I find myself craving something icy and indulgent. Instead of a plain old ice cream or a basic milkshake, I stumbled upon the idea of a chocolate slushie that balances richness with icy refreshment. It’s the kind of treat you can make with ingredients from your pantry but feels like a special escape.

    This recipe isn’t just about chilling out; it’s about transforming everyday chocolate into a velvety, frosty masterpiece that cools you down on the hottest days. Pouring that dark, glossy sludge into a glass feels like a little victory—a sip of sweet, icy calm. Plus, it’s easy enough for that spontaneous craving when only chocolate and ice will do.

    Chocolate Slushie

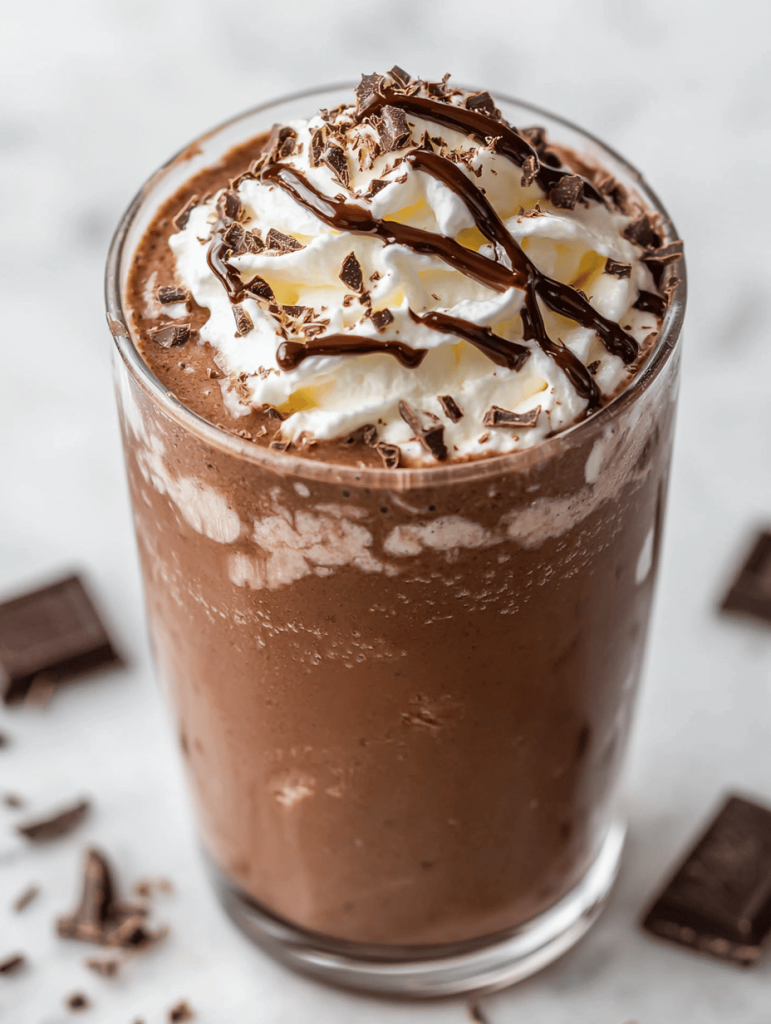
    This chocolate slushie is a frozen beverage made by blending cocoa-rich chocolate with ice and sweetener until smooth and velvety. It has a thick, icy texture with a glossy, dark appearance, serving as a refreshing treat on hot days. The final result is a chilled, indulgent drink with a silky consistency that can be poured into a glass and enjoyed immediately.
    Prep Time 5 minutes
    Total Time 5 minutes
    Servings: 2
    Course: Main Course
    Cuisine: American
    Calories: 180

    Ingredients
      

    • 1 cup milk can be dairy or plant-based
    • 1/4 cup unsweetened cocoa powder preferably Dutch-processed
    • 1/4 cup granulated sugar adjust based on sweetness preference
    • 1 cup ice cubes about 6-8 ice cubes
    • 1/2 cup chocolate syrup or melted dark chocolate for extra richness

    Equipment

    • Blender
    • Measuring cups and spoons

    Method
     

    1. Pour the milk into your blender and add the cocoa powder and sugar. Blend on low speed until the cocoa and sugar are fully dissolved, and the mixture looks smooth and slightly frothy.
    2. Add the chocolate syrup or melted chocolate to the blender and blend again until the mixture turns dark and glossy, smelling rich.
    3. Drop in the ice cubes and secure the lid on the blender. Blend on high speed for about 30-45 seconds, or until the mixture is thick, slushy, and smooth with no large ice chunks remaining.
    4. Stop the blender and check the texture—if it’s too thick, add a splash more milk and blend briefly to loosen it up slightly. If it’s too thin, add a few more ice cubes and blend until your desired consistency is achieved.
    5. Once the mixture is velvety and frosty, pour the chocolate slushie into glasses. It should be thick but still easy to sip, with a glossy appearance and icy texture.
    6. Serve immediately with a straw or a spoon, and enjoy the cool, chocolatey goodness on a hot day.

    Notes

    For an extra indulgent touch, top with whipped cream or chocolate shavings before serving.

    Crafting this chocolate slushie is a straightforward joy, perfect for lazy afternoons or weekend get-togethers. It’s a reminder that comfort food doesn’t need to be complicated, just well-chilled and topped with a bit of whipped cream or sprinkles.

    As the seasons change, this icy delight feels more relevant than ever. It’s a decadent way to beat the heat while indulging in your favorite chocolate flavor. Truly, a simple recipe that turns everyday ingredients into a moment of pure cooling bliss.

  • The Curious Case of Oreo Slushie: A Childhood Memory Turned Frozen Art

    The Curious Case of Oreo Slushie: A Childhood Memory Turned Frozen Art

    Ever wonder how a simple cookie could inspire a chilly delight that dances on your taste buds? The Oreo slushie is more than just a quick fix for hot days; it’s a nostalgic swirl of cream and chocolate that whisks you back to childhood summers. Using just a handful of ingredients, you can transform everyday snacks into a cold, creamy treat.

    This recipe is perfect for those moments when you crave something sweet but don’t want to spend hours in the kitchen. It’s a playful experiment with textures and flavors, blending crunch, creaminess, and chill into one cup. Whether it’s for a spontaneous party or a lazy weekend, this slushie never fails to surprise.

    Oreo Slushie

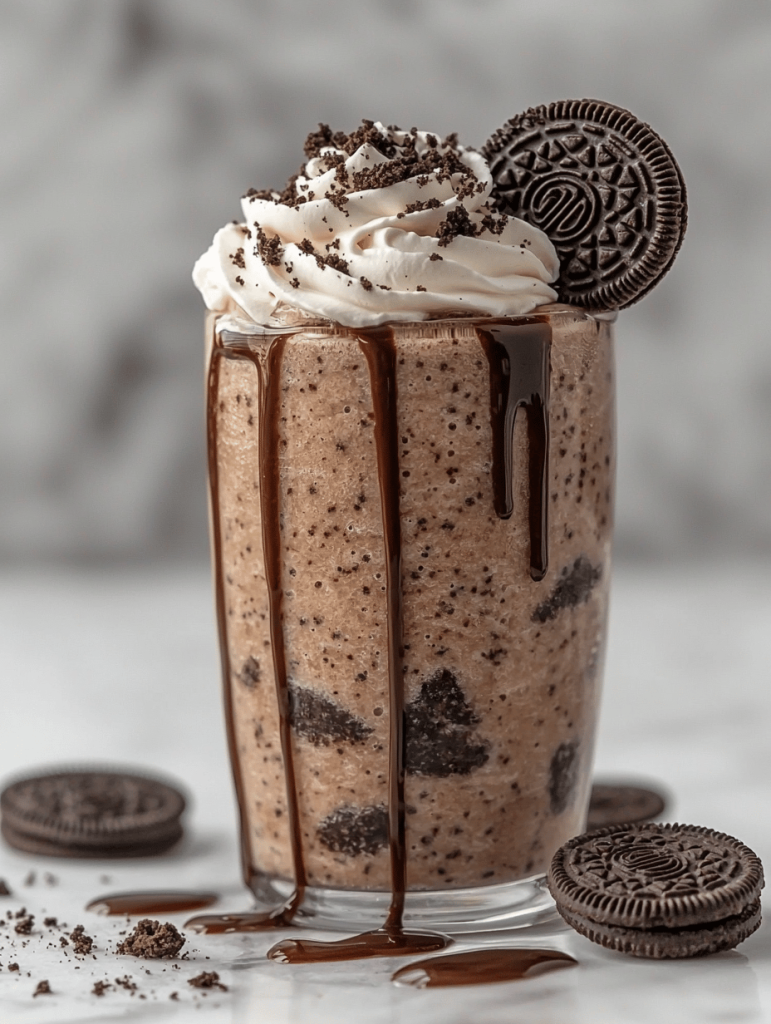
    The Oreo slushie is a cold, creamy beverage made by blending crushed Oreo cookies with milk and ice until smooth. It features a balance of crunchy cookie bits and silky texture, with a rich chocolate and cream flavor that looks appetizingly icy and thick.
    Prep Time 5 minutes
    Total Time 5 minutes
    Servings: 2
    Course: Main Course
    Cuisine: American
    Calories: 250

    Ingredients
      

    • 8 pieces Oreo cookies roughly chopped or broken into pieces
    • 1 ½ cups milk preferably whole or 2%
    • 1 cup ice cubes for a thick slushie texture
    • 2 tbsp sugar optional, for added sweetness

    Equipment

    • Blender
    • Measuring cups
    • Tall glass or serving cup

    Method
     

    1. Place the Oreo cookies into the blender.
    2. Add the milk to the blender over the crushed cookies.
    3. Toss in the ice cubes along with sugar if using, to create a chilled, icy base.
    4. Secure the lid on the blender and blend on high speed until the mixture is smooth and creamy, with tiny cookie bits visible.
    5. Stop the blender and check the consistency; if it’s too thick, add a splash more milk and blend briefly to loosen.
    6. Pour the Oreo slushie into a tall glass or serving cup, giving it a gentle swirl to distribute chunks of cookie evenly.
    7. Serve immediately with a straw or spoon, enjoying the balance of crunchy Oreo bits and velvety, icy sweetness.

    Notes

    For extra flavor, top with whipped cream or drizzle with chocolate syrup before serving.
    As the summer heat continues to push us outdoors, the Oreo slushie offers a sweet reprieve without the fuss. It’s the kind of dessert that makes you smile just from the memory of that first bite of cold, chocolatey delight. Plus, it’s endlessly customizable—add a splash of milk or a sprinkle of crushed cookies for extra magic.

    So next time you’re looking for a quick treat that sparks joy and nostalgia, reach for those Oreos and a blender. It’s simple, satisfying, and delightfully chaotic—just like childhood itself. Cheers to turning everyday ingredients into moments of pure pleasure.

  • Fizzing Nostalgia: The Art of Crafting the Perfect Sprite Slushie

    Fizzing Nostalgia: The Art of Crafting the Perfect Sprite Slushie

    There9s something magical about turning a simple lemon-lime soda into a frosty treat. It9s like capturing a childhood moment in a glass, yet with a surprising twist of summertime chaos. The way the cold salt-slicks the tongue while the pop of soda bubbles tickles your senses makes it a playful wonder.

    Executing this slushie feels almost like a science experiment with a dash of nostalgia. I love how the ingredients blend into a refreshingly salty-sweet shock to the system. Plus, it9s perfect for unexpected guests rushing in or a lazy afternoon craving something icy.

    Salty Lemon-Lime Soda Slushie

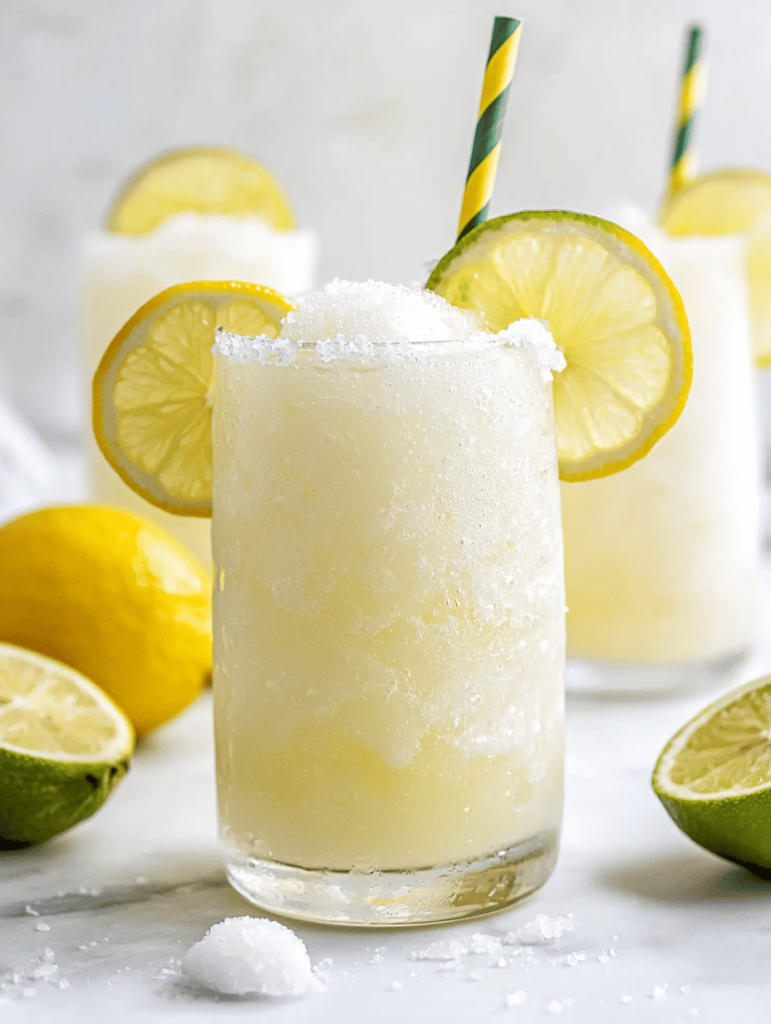
    This beverage combines lemon-lime soda with a pinch of salt to create a frozen slushie with a bubbly, icy texture. The mixture is frozen and then stirred to achieve a frosty, scoopable consistency resembling a childhood treat. Its final appearance is a bright, semi-opaque drink with a refreshing, slightly salty flavor.
    Prep Time 10 minutes
    Cook Time 2 minutes
    Total Time 12 minutes
    Servings: 2
    Course: Main Course
    Cuisine: American
    Calories: 150

    Ingredients
      

    • 2 cups lemon-lime soda chilled
    • 1/4 teaspoon salt preferably flaky sea salt

    Equipment

    • Freezer-safe container
    • Fork or spoon

    Method
     

    1. Pour the lemon-lime soda into a freezer-safe container and sprinkle the salt evenly over the surface. Give it a gentle stir to combine—this helps the salt dissolve slightly and distributes flavor throughout once frozen.
    2. Place the container in the freezer and let the mixture freeze solid for about 2 hours. Check occasionally to ensure it’s not overfreezing.
    3. Once frozen, remove the container from the freezer using a towel or oven mitts. Use a fork or spoon to scrape and stir the icy mixture, breaking up any large chunks and creating a fluffy, slushy texture.
    4. Continue to stir every few minutes until the mixture reaches a finely crushed, icy consistency that’s easy to scoop and looks frosty and opaque.
    5. Serve the slushie immediately in glasses or bowls, garnished with a twist of citrus if desired. The final result should be a bubbly, crunchy, salty-sweet frozen treat.

    Crafting a Sprite slushie isn9t just about cooling down. It9s about reclaiming that childhood delight and transforming it into a quick, chaotic kitchen escape. The bright, fizzy aroma and icy texture make it a summer staple, no matter the season.

    Next time you need a quick splash of joy, reach for that soda and unleash the icy chaos. It9s a simple pleasure that surprises every time, offering a flash of cool relief with a side of nostalgic mischief.