As a food blogger with a penchant for the spooky, I always seek out treats that tell a story beyond their ingredients. These Witch Finger Cookies do just that, bringing a touch of eerie elegance to my Halloween spread. The smell of buttery dough mingled with a hint of almond is the first whisper of magic in the air.
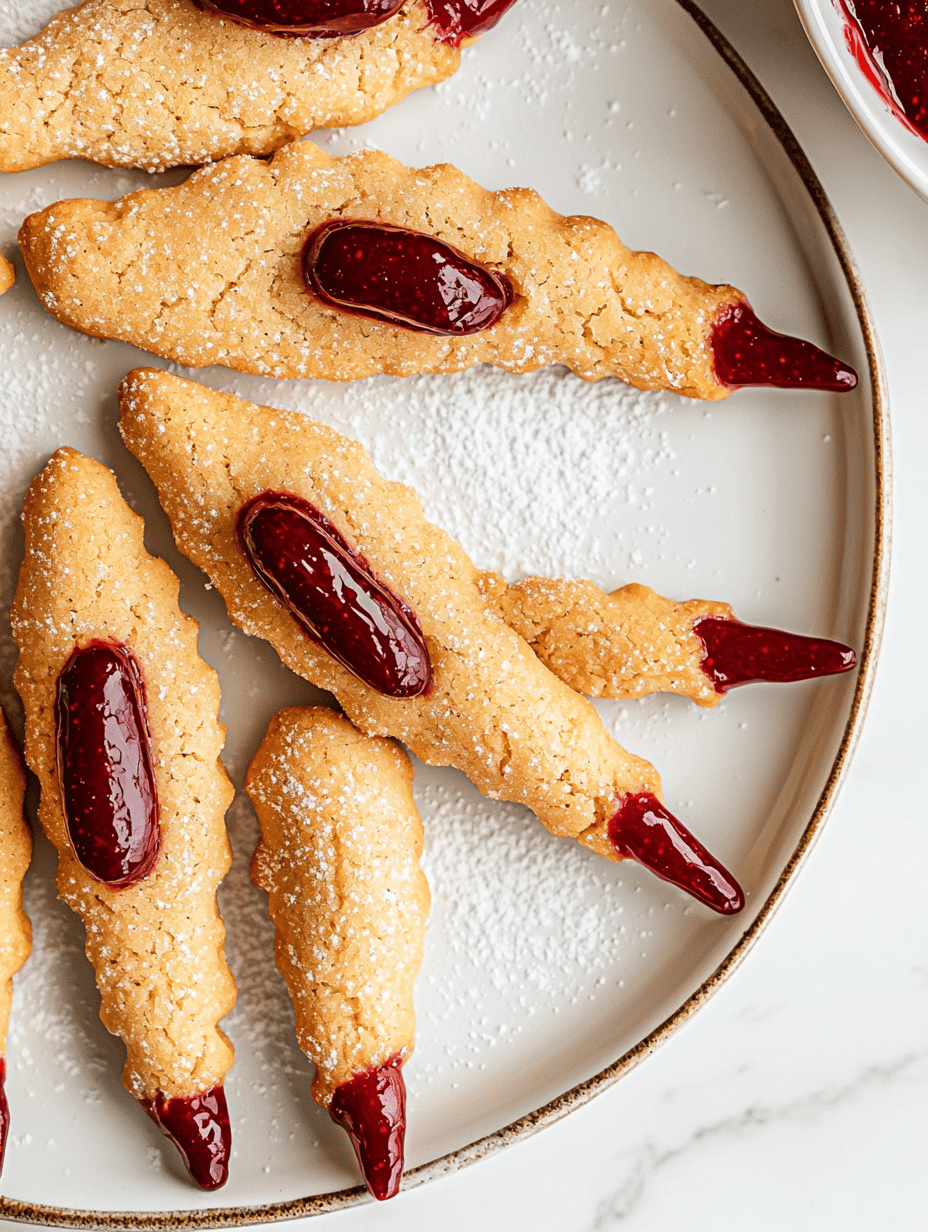
Each cookie looks like a tiny enchanted finger, complete with knuckles and a sinister nail made from a slivered almond. The process transforms a simple shortbread into a playful, slightly chaotic ritual that’s perfect for costume parties or family ghost stories. There’s a mischievous joy that comes from creating these tiny bits of edible folklore.
Witch Finger Cookies
Ingredients
Equipment
Method
- In a large mixing bowl, beat the softened butter and sugar together until the mixture is light and fluffy, with a pale color and a gentle aroma of vanilla.
- Add the egg and vanilla extract to the butter-sugar mixture, then beat again until combined and smooth, about 1-2 minutes.
- Gradually add the sifted flour and salt to the wet ingredients, folding gently with a spatula or mixing on low speed until the dough just comes together and is soft but manageable.
- Divide the dough into manageable portions, then roll each into a long, thin cylinder about 8 inches long, shaping them into finger-like logs.
- Place the shaped fingers onto a parchment-lined baking sheet, spacing them slightly apart.
- Use the tip of a knife to indent knuckles along each finger, creating a natural finger joint appearance.
- Press a slivered almond at the tip of each finger to resemble a sinister fingernail.
- Bake the cookies in a preheated oven at 350°F (175°C) for 12-15 minutes, or until they are lightly golden around the edges and firm to the touch.
- Remove from the oven and allow the cookies to cool on the baking sheet for 5 minutes before transferring them to a wire rack to cool completely.
- Once cooled, check the nails and knuckles, adjusting or reattaching almonds if needed, and serve the spooky treats for your Halloween party.
Notes
In the end, these Witch Finger Cookies are more than just a treat—they’re a celebration of the playful, spooky spirit of Halloween. Watching friends and family bite into these creepy confections never fails to spark giggles and surprise. They’re a reminder that sometimes, the messiest kitchen adventures create the most memorable joys.
As the season dims and the last spooky shadow fades, these cookies leave behind a little spark of Halloween magic. They turn a simple cookie jar into a cabinet of curiosities that keeps the spirit alive well beyond October 31st. And that’s precisely why I always keep the ingredients on hand for the next haunting season.